Mike and I decided to do a fully handmade Christmas this year (with one or two exceptions thrown in. Dads are hard to make for!) We were super excited to devote a handful of days to just getting crafty and baking away. I started on these coasters a couple of weeks ago (!!!) and only meant to make about 4 sets. I ended up making about 16! They're so simple and effortless that I couldn't help myself. It was fun to try different techniques to make them special, too. These are great inexpensive (yet thoughtful!) gifts for anyone you may know (or even to use in your home!). I made batches for practically everyone, and ew used our Instagram prints we've had lying around for our own set. Below I'll show you three fun ways to spruce up your own porcelain coasters, and give you a few more ideas! (It's really so simple that I don't need to do a step by step tutorial!)
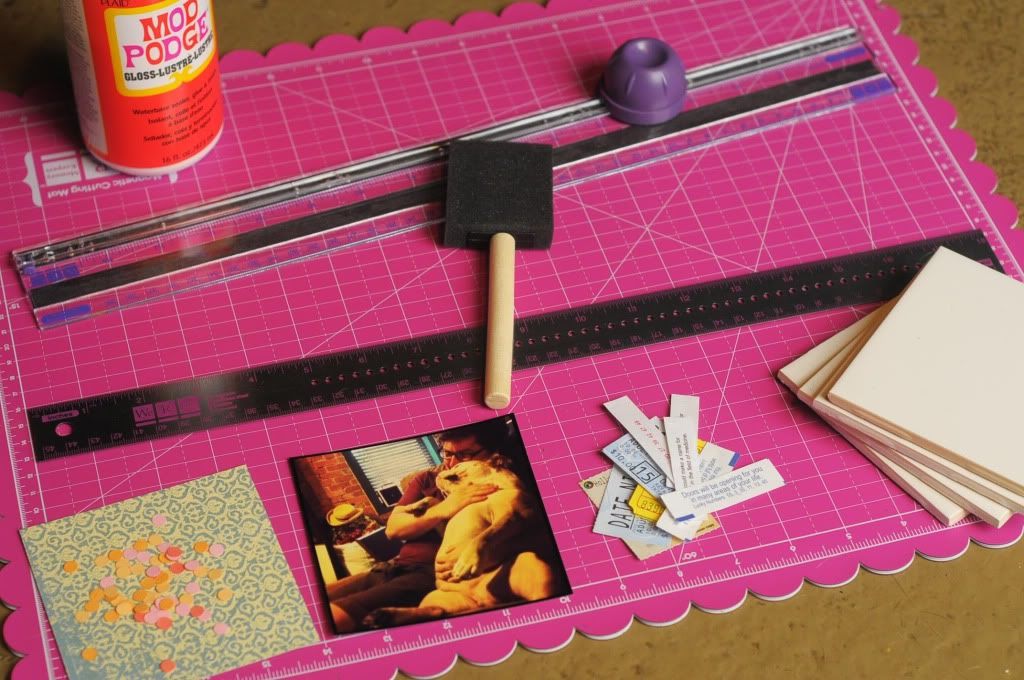
What you'll need:
+ Four 4.25" x 4.25" porcelain tiles from hardware store
+ ModPodge
+ Foam brush
+ Paper or something for the "design"
+ Felt furniture backings
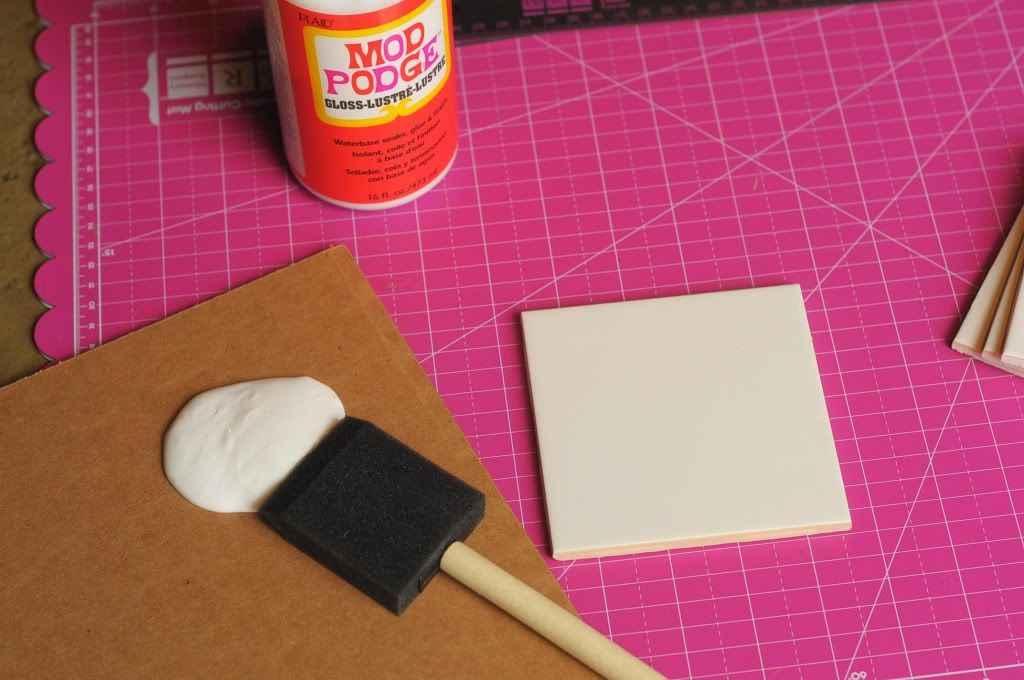
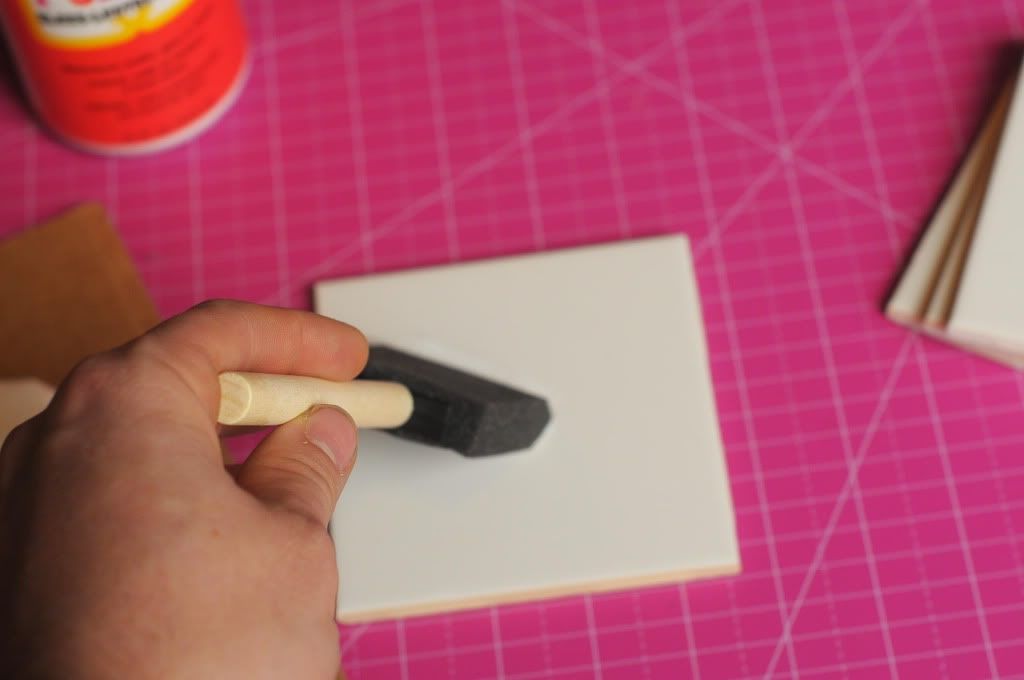
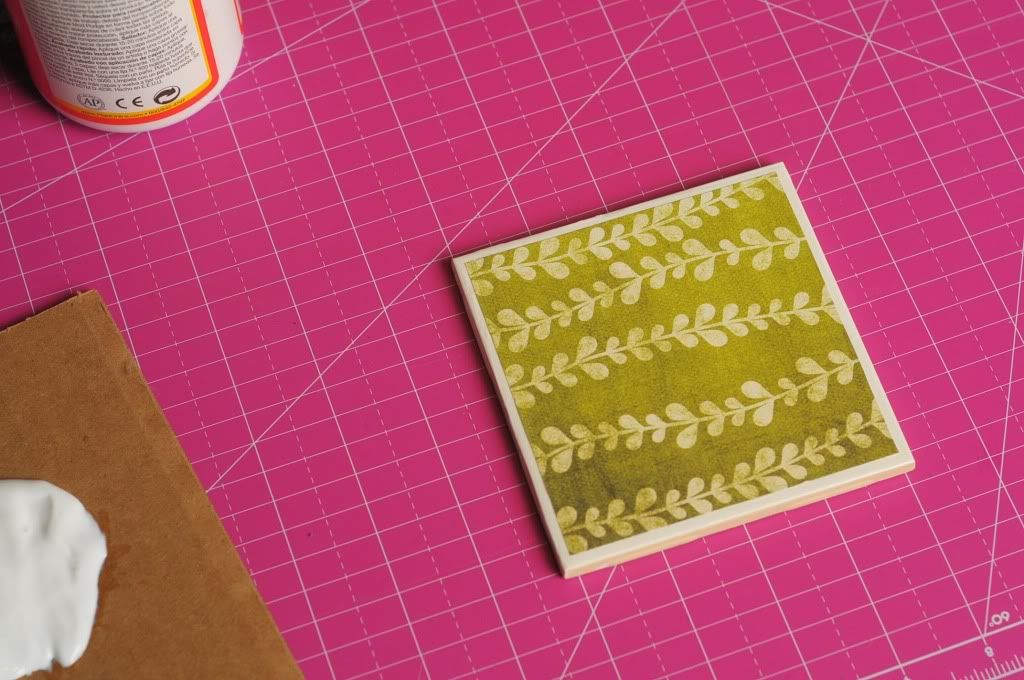
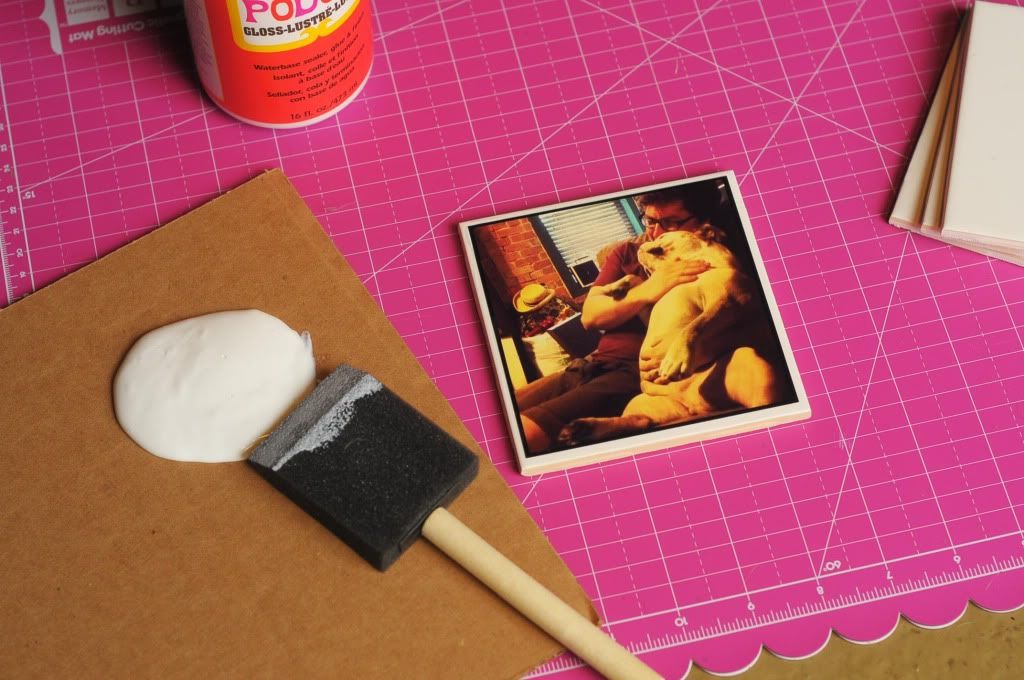

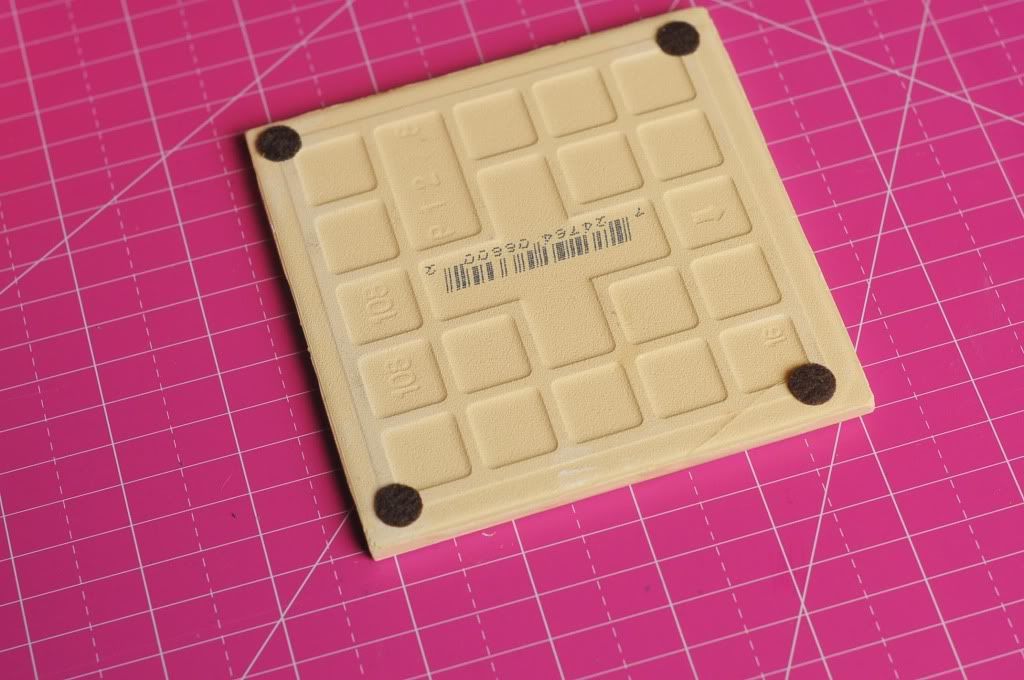
What you'll do: If you're using scrapbook paper or something of the sort, trim it into a 4"x4" square. (One piece of 12" scrapbook paper makes 9 (!!!) coasters!) Pour out some ModPodge and use your foam brush to brush a layer onto the top of the porcelain tile. Immediately place the design paper onto the fresh ModPodge. If you're using small pieces of paper for a collage, be careful not to tear them! The MP is sticky! Wait 20 minutes and allow it to dry. Come back and add another coat of MP over all 4 tiles, making sure to pay close attention to the edges. Allow this coat to dry for another half hour or so, and repeat two more times. After 3 coats of MP, you may turn over the coaster and add 4 felt backings to each one. This will help protect any surface it sits on.
Voila! You now have a set of personalized coasters! Stack them up and tie them with a ribbon for a pretty presentation!
Tips and tricks: Use old movie stubs or anything that may be special between you and the recipient to make it more personal. Mike and I made a set with old date tickets and fortunes! You can also use baby pictures, pictures from growing up, or family portraits. If you have a new baby in the house then it could be sweet to use pictures of him/her to give to the baby's grandparents (or if you're on the outside then you can gift these to the parents of the baby!). If you decide to use small pieces, confetti, or anything with ink, pick up some transparencies at the office supply store and cut them into 4x4 square to place on top. This will help keep the coating even and nice.
If you'd like to order your own Instagram prints (which are sized at 4x4!), use Mpix or download the Postal Pix app on your iPhone!
These make great gifts because they're easy to make and cheap to put together. The tiles cost 16 cents a piece at Home Depot. 1 sheet of scrapbooking paper is enough for 2 full sets and is only 50 cents. The felt backings can be bought in sets of 25, 60, or 80 for only about $2.75. At the end of the day each set cost us roughly $1 to make (Instagram sets run about $2.50 or less!)
What would you put on your coasters if you made a set?!
No comments:
Post a Comment