Showing posts with label DIY. Show all posts

Wednesday, 4 January 2012

diy pom pom dandelions

marcos and i were over at his brothers' house the other day and i was speaking with his girlfriend, ashley. she was telling me about this blog that she followed and some really cute diy's that she found there. of course i had to look.
she showed me one diy in particular that she was going to be working on. she showed me a diy by black velvet chair; diy pom pom dandelions. and they're just adorable! i immediately fell in love with them and wanted to create some for my desk at work to fill my mismatched bottles.

well - marcos and myself were over at their home last night watching their little kitty, oscar and she had completed some of these little dandelions and put them in a vase by her couch. and they look perfect! so i decided that i would find the originals and share them with you all! enjoy!

Thursday, 29 December 2011

DIY: Coasters

Mike and I decided to do a fully handmade Christmas this year (with one or two exceptions thrown in. Dads are hard to make for!) We were super excited to devote a handful of days to just getting crafty and baking away. I started on these coasters a couple of weeks ago (!!!) and only meant to make about 4 sets. I ended up making about 16! They're so simple and effortless that I couldn't help myself. It was fun to try different techniques to make them special, too. These are great inexpensive (yet thoughtful!) gifts for anyone you may know (or even to use in your home!). I made batches for practically everyone, and ew used our Instagram prints we've had lying around for our own set. Below I'll show you three fun ways to spruce up your own porcelain coasters, and give you a few more ideas! (It's really so simple that I don't need to do a step by step tutorial!)


What you'll need:
+ Four 4.25" x 4.25" porcelain tiles from hardware store
+ ModPodge
+ Foam brush
+ Paper or something for the "design"
+ Felt furniture backings

What you'll do: If you're using scrapbook paper or something of the sort, trim it into a 4"x4" square. (One piece of 12" scrapbook paper makes 9 (!!!) coasters!) Pour out some ModPodge and use your foam brush to brush a layer onto the top of the porcelain tile. Immediately place the design paper onto the fresh ModPodge. If you're using small pieces of paper for a collage, be careful not to tear them! The MP is sticky! Wait 20 minutes and allow it to dry. Come back and add another coat of MP over all 4 tiles, making sure to pay close attention to the edges. Allow this coat to dry for another half hour or so, and repeat two more times. After 3 coats of MP, you may turn over the coaster and add 4 felt backings to each one. This will help protect any surface it sits on. 

Voila! You now have a set of personalized coasters! Stack them up and tie them with a ribbon for a pretty presentation!

Tips and tricks: Use old movie stubs or anything that may be special between you and the recipient to make it more personal. Mike and I made a set with old date tickets and fortunes! You can also use baby pictures, pictures from growing up, or family portraits. If you have a new baby in the house then it could be sweet to use pictures of him/her to give to the baby's grandparents (or if you're on the outside then you can gift these to the parents of the baby!). If you decide to use small pieces, confetti, or anything with ink, pick up some transparencies at the office supply store and cut them into 4x4 square to place on top. This will help keep the coating even and nice. 

If you'd like to order your own Instagram prints (which are sized at 4x4!), use Mpix or download the Postal Pix app on your iPhone! 

These make great gifts because they're easy to make and cheap to put together. The tiles cost 16 cents a piece at Home Depot. 1 sheet of scrapbooking paper is enough for 2 full sets and is only 50 cents. The felt backings can be bought in sets of 25, 60, or 80 for only about $2.75. At the end of the day each set cost us roughly $1 to make (Instagram sets run about $2.50 or less!)

What would you put on your coasters if you made a set?! 

Friday, 16 December 2011

mini wreath holiday cards

i saw these cute cards on another blog a few weeks ago (and i actually posted about them here)... i wanted to do them so bad because i thought that they were super unique and really adorable. so last night, i went over to wal-mart and got the supplies with my fiance.

when we got home, we put some of them together and thought how cute they would be hanging around a bottle of wine for a cute christmas gift for friends and family. so... of course i had to share my cute little idea... and give you the link to those adorable baby christmas wreath cards!!

Photobucket

Saturday, 3 December 2011

Pet Holiday Gift Guide + Suitcase Bed DIY

I thought it'd be fun to share some pet friendly gifts for the holidays since I'm sure most of you have a furry critter in your life! It's no secret that Pipkin and Georgia are basically our children and we love them so much. Puppy presents are some of my favorite to pick out each year and this one is no different! Here's a few things I think would make rad gifts!

I received a package from Lucy over at Fair Ivy several weeks ago and it's like a fun little grab bag of sorts! The items are handmade and always exciting and different. I opted for the Fur Ivy package for the girls and they're loving the contents. It arrived and I opened to find a fun flamingo doll and some pup-friendly fortune cookies (Kind of felt like fate since Mike and I have a fortune cookie ~thing). Fur Ivy boxes are now on sale for a crazy low price, 40% off! You can read more about the Fur Ivy packages here (or their other packages: Fair Ivy, Fred Ivy and Fun Ivy). There's one version for dogs and one for cats, too! 

Another fun idea is a super cute new collar! My girls don't wear collars (fat necks! They're the harness type) but Alejandra from Doe A Deer sent these over for my mom's two dogs: Charlie and Lacey! I am absolutely in love with this sweet strawberry print! I really love the pop of colors, too. They're incredibly well made and ship quickly! See more size and pattern options here

Homemade pet treats are a super fun idea, too! I love these doggie donuts! Aren't they adorable? You could also get some catnip-filled strawberries for your favorite felines!

♥ ♥ ♥ ♥ ♥ ♥ ♥ ♥ ♥ ♥ 

And if you're feeling really up to it, you could even build them a custom vintage suitcase bed for napping! I love the look of them but could never justify the pricetag associated, so Mike and I headed to Lowe's to build our own! We weren't sure we'd be successful so we used a huge janky Samsonite suitcase we had stored away (so Georgia could fit!). We wouldn't be heartbroken if it didn't work and we lost the suitcase. Anyway, it was a super super easy project. You do need a drill, but you can have the wood pieces cut at a home improvement store, so you don't need to worry about that! It probably took all of 15 minutes to actually make. If you're interested in the process, peep below!


What you'll need:

  • Vintage suitcase
  • 1x4 wood cut to size (2 slats to fit the width)
  • 4 internally threaded furniture legs
  • 4 leg braces with screws (found next to the furniture legs)
  • Properly sized drill-bit (We used a 7/64")
  • A pillow insert for the "bed"
  • Drill

First you need to unhinge the top of the suitcase from the bottom. Some suitcases are as simple as a screw, and some (like ours) have rivets that you can just drill right through to pop the top off. Many Samsonites are built this way. It takes a little arm pressure, but it's easy! Remove and discard the top portion of the suitcase.


Then rip the lining out of the suitcase. Some people may choose to leave it, and that's fine. We wanted to be able to see where we were drilling.


Place your cut boards into the front and back of the suitcase to help keep it stable. Figure out where you want them to go and mark it with a permanent marker or chalk.  Then place your braces inside those lines to mark where the screws will go. This is where you will drill through.  The back should have 16 holes when you're finished with this step.


Now you can use the screws that came with the braces to attach them to the outside of the suitcase. Attach all 4 of them and then screw the furniture legs into the braces. ETA: We actually had to screw through the middle section of the brace, too. So we ended up with 20 holes! Depending on how long the thread is on the legs, you may need to screw through there, too!


Then you can sew a simple rectangle, stuff it with filling and call it a day! You now have a sweet pet bed! (Don't mind mine... It's lumpy and poorly sewn, but you get the idea!)


The furniture legs can be really expensive at the home improvement stores, so if you have some time, look them up online and order them! These simple wheel-like legs were $3 a piece (most were $8!) and that can add up quickly! You could even repurpose old furniture in your house or something from the thrift store! The final product cost us less than $20, but if we had been more creative then we could've done it for under $10! I'm planning on making some cuter ones but this one will do for now! (They both actually really love it!)

Give all your pets lots of hugs from me! xo

Do you celebrate the holidays with any of your pets? Do you like to make/get them gifts or hang stockings?

Tuesday, 29 November 2011

unique diy christmas cards

i completely fell in love with these cute little diy christmas cards that i found online today! they are so simple, and so elegant that i decided that i need to try them for my christmas cards this year!!

and of course, i wanted to share with all of you! enjoy! ♥

Photobucket
PhotobucketPhotobucket

Wednesday, 2 November 2011

Wedding Wednesday


This Wedding Wednesday is another super simple DIY that I've been doing for a few years. I love the look of cute little cake stands at a gathering or party. I'm kind of drawn to "mini" sized things and think they're cute (admit it, you do too!). Maybe you're throwing a fete of your own, a wedding, a birthday party, or a baby shower... either way, these little DIY stands would make a great addition to your spread! It's an easy process so peep below! 

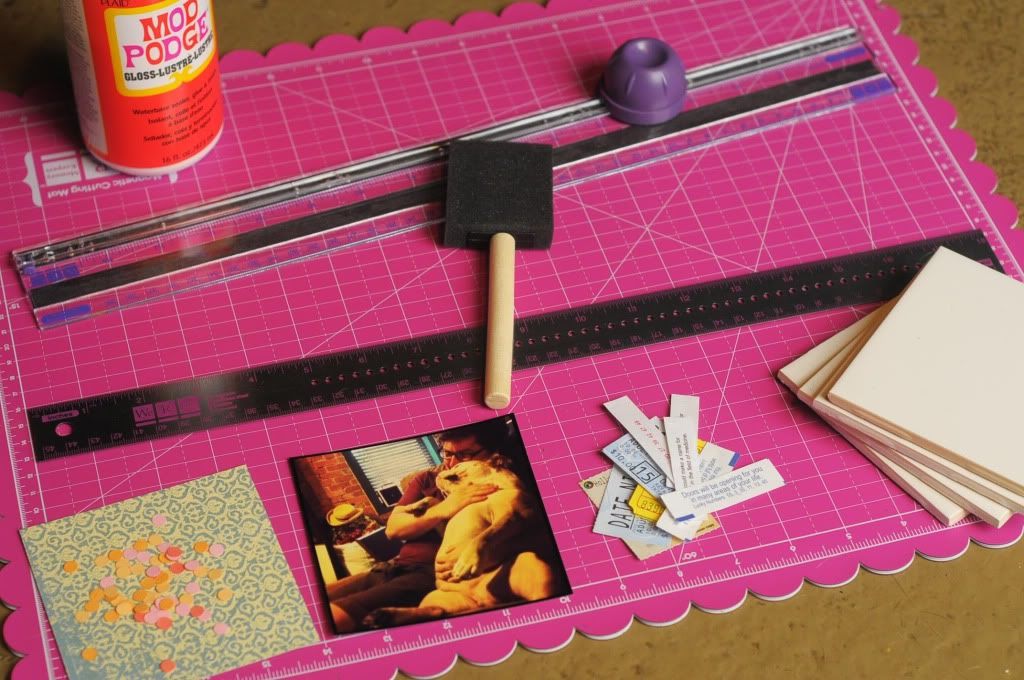
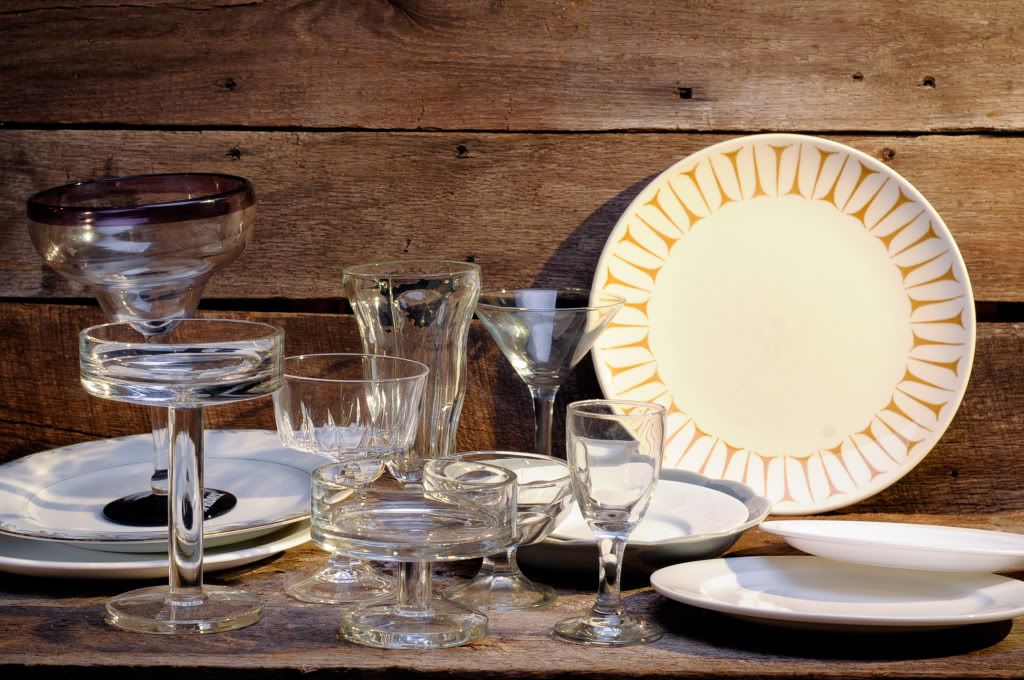
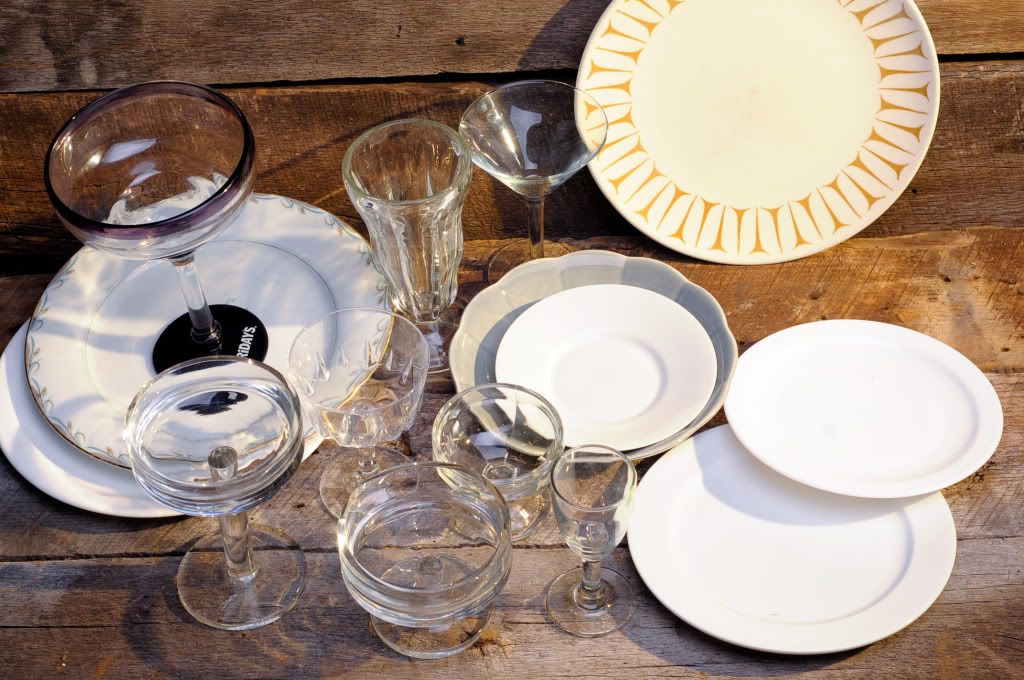
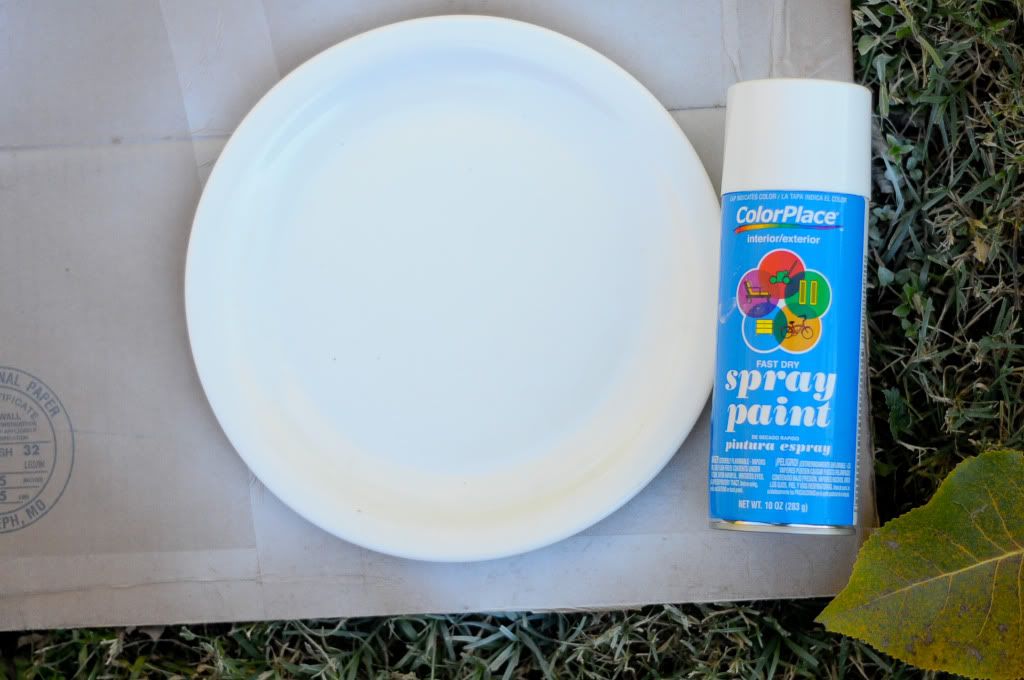
What you'll need: A variety of glassware (with stems for maximum effect!), plates, saucers and/or small bowls, your choice of colored spray paint, an industrial strength epoxy or glue (like E-6000), and a surface which you can spray paint on (cardboard works great!)

We picked up all of our glassware at Goodwill to keep the cost down. This is a really great, inexpensive way to make a statement at any party you might throw!


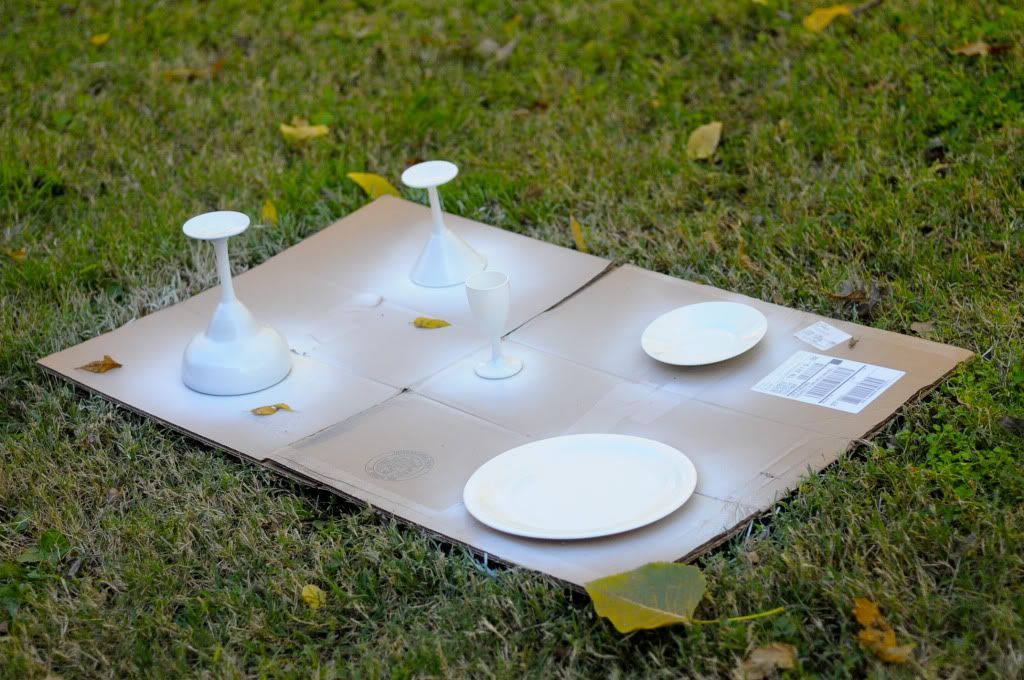
First make sure all of your glassware is clean and there is no left over sticker residue. Wash them really good and dry them thoroughly. Lay them out on your cardboard and give them a couple of light paint coats. Be careful not to put it on too thick or too quick! The paint will start to run and it'll look not so pretty! Let the paint dry and see if it needs another coat. Then flip it over and do the other side!

Once the paint dries, bring the pieces inside and decide what pieces you want to go with each other. Use your industrial strength glue to line the edges of the stemware that will act as the bottom of the stand, and place the plate on top of it. E-6000 says for optimal hold, allow for up to 24 hours to dry. I've found that just giving it 4 or 5 is perfectly fine, especially if you can stack a book or two on top of the plate to help weigh it down! Do this to all of your pieces and let them dry.

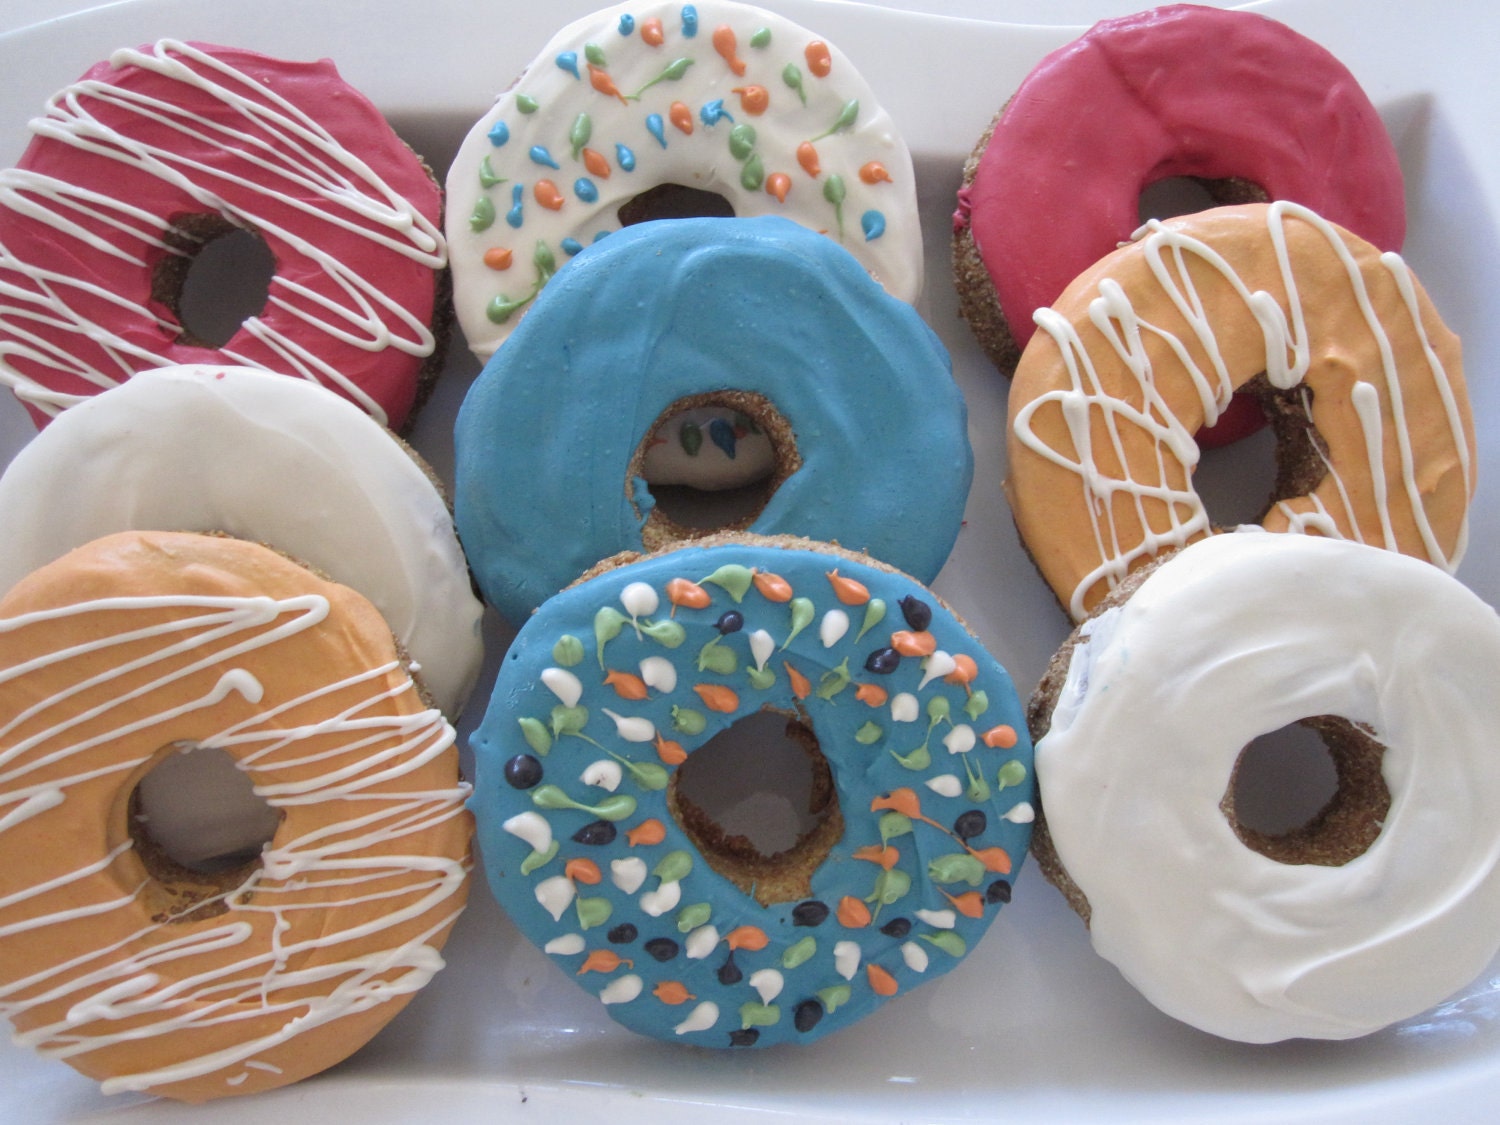
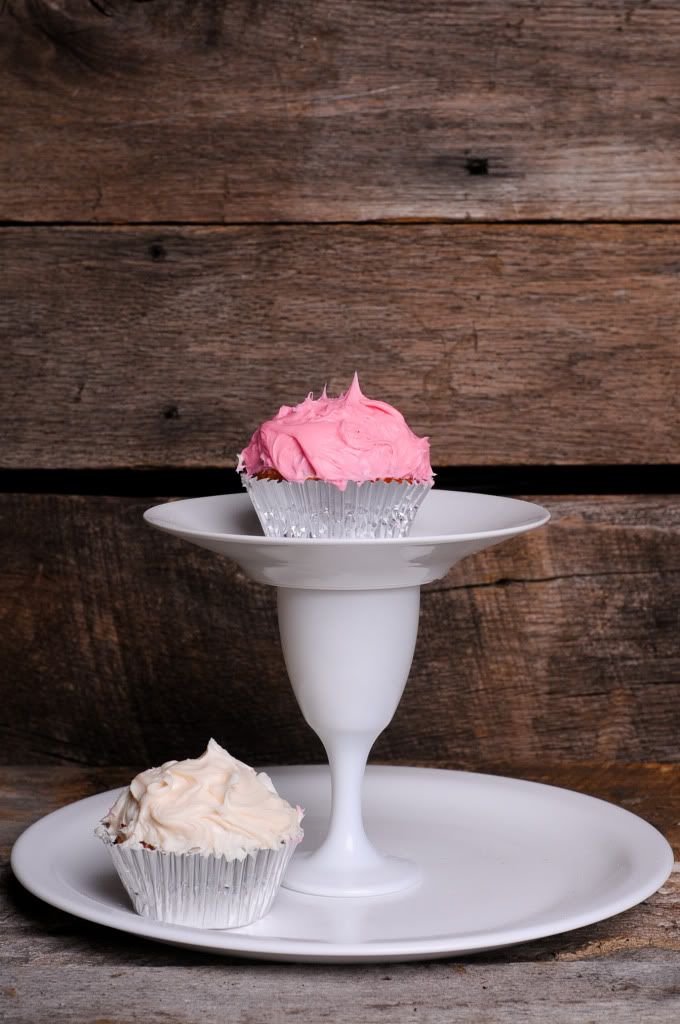
Above you will see a few that we made using various glasses such as martini and margarita stemware. You can choose to paint all of the pieces, or you can leave the stem or plate unpainted to show a cool pattern of color. Use the stands to put cookies, brownies, cupcakes, or even tortilla chips on! You can always add additional tiers to make it super fancy or to hold something like your salsa! Yum!

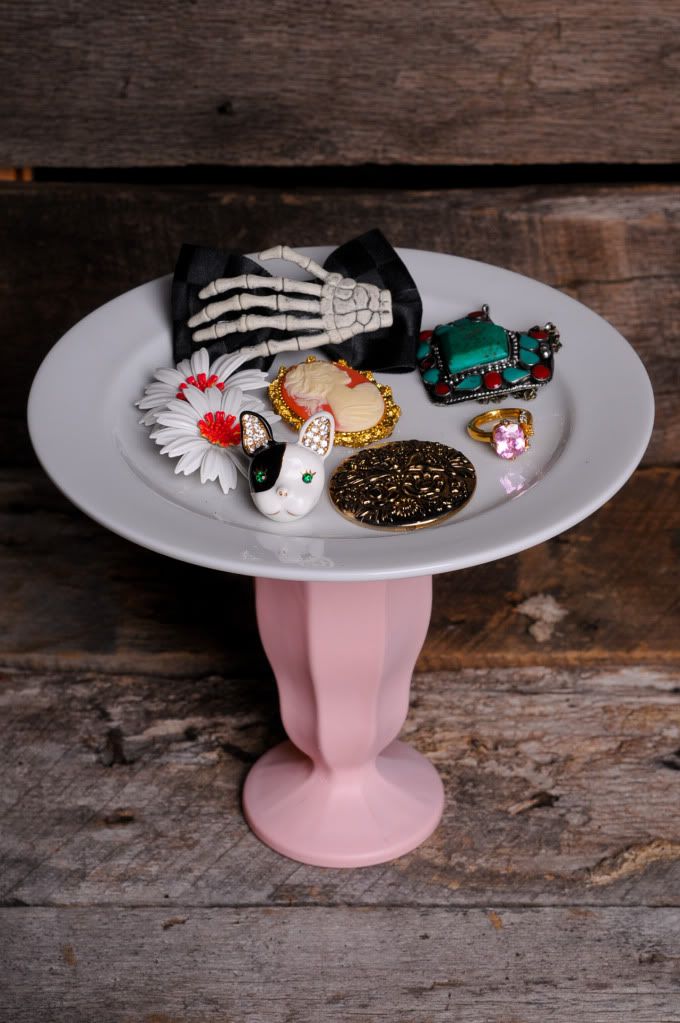
Other practical uses for these stands: Jewelry and makeup display (I have the pink/white one above on my vanity that holds bits and bobs like some of my brooches, plugs, and rings!). Use it in your craft closet to keep track of thimbles, your pincushion, loose buttons or handy trim. You can even set it up at a craft show to hold your business cards so they're easily accessible when people walk by!

The uses for these little things are endless! So many things you can make, and so many ways you can use them! Get creative with your color palette or patterns. Mix and match, use a bowl on a candlestick or a saucer on a margarita glass! The cooler the shapes, the better! In places like your bathroom, vanity, and craft closet, they really help add a bit of storage without taking up a lot of real estate on the bottom. You can still set things underneath and around!

Enjoy! xo

PS: Be sure if the cake stand will have direct contact with your food, to put a piece of wax paper, or a paper doily, underneath to avoid any type of contact with the paint! This isn't an issue with cupcakes since they have liners and the like, but for cookies, brownies or cake, make sure there's a solid layer of something to keep it safe! ;)

Wednesday, 19 October 2011

Wedding Wednesday


Let me preface this little DIY with this: It's simple. So simple that I probably shouldn't even call this a tutorial (so I won't). I was first inspired by the second image from a past WW post and I thought "Oh hey, that's cute!" so I did it. Our wedding is going to be very low-key, DIY driven, and Southern. What is more southern than mason jars (aside from Paula Deen)? Exactly. I love a little spray paint, and I've shared painting vases in the past to mimic milk glass. This is perfect for your windowsill, your dinner table, your desk, or your wedding centerpieces. Below I'll show you 4 different stylings of it and let you get to work! Enjoy!


All you need for #1 is a mason jar and spray paint. Guess what you do with them? Yep. Simple.

#2 is a mason jar, spray painted white, wrapped with a rough piece of burlap, and secured by a few rounds of your favorite color yarn. The best part is that you don't need any glue or anything. Use the yarn to secure the burlap and tie it in the back. It'll slip right off so you can slip a new cover on it!

#3 is just the spray painted mason jar with some thick twine or jute wrapped around the top. You can do this around the top, the middle, or the whole thing. It gives it a really fun rustic vibe!

#4 is just some hand-ripped cotton fabric wrapped around and knotted in the front. Seriously... it doesn't get much easier than that!

A few tips I've learned from spray painting glassware:
1. When in doubt, use glossy spray paint. I'm a huge fan of a matte finish, and the matte looks great in colors, but more often than not the white matte spray paint comes out like a chalky primer. It's really really gross to the touch and it doesn't give you a smooth surface. The glassware is typically shiny, so keep it simple with the gloss!
2. Use brown for an earthy tone, baby blue or pink for a baby shower, and maybe black or orange for halloween decor! 
3. When you're doing pastel colors like blue, pink or yellow, do a base coat of white glossy spraypaint first. This will help the colors really pop and be even!
4. If you want to make the decor on the jar more permanent, use a little bit of hot glue to secure the burlap/twine/etc. 

I thought #2 was the perfect look for Autumn so it's now sitting on my desk next to my computer. It's the perfect punch of color for the season and I think having fresh flowers nearby is always inspiring! xo