Showing posts with label recipes. Show all posts

Sunday, 1 January 2012

Yummy Key Lime Pie Recipe: Welcome to the 154th Metamorphosis Monday!

If you're new to BNOTP, every Sunday evening (by 9:00 P.M.) our Metamorphosis Monday party begins. MM is a chance to share a "Before and After" you may have been working on this past week/month. Click on the category heading Parties at the top of this blog for more details.

I'm sharing an edible "Before and After" for this Metamorphosis Monday. This past Christmas I decided to shake things up a bit.  I made the traditional Coconut Cake and Ambrosia (recipe for Coconut Cake HERE) but I decided to make a pie, too.  Years ago, I used to make a Lemon Meringue pie using a recipe from  an old Eagle Brand Sweetened Condensed Milk recipe booklet.  I came across the recipe again recently and decided to give the Key Lime version a try.


The coconut cake took a lot more effort since I made it from scratch, including grating fresh coconut. When all was said and done, there was plenty of cake left and not a single piece of Key Lime pie.   Something tells me I've just started a new tradition for our Christmas feast.


Here's some of the ingredients you'll need to make this super easy pie.  I came across "Nellie & Joes Famous Key West Lime Juice" at Publix and had to try it because of the cute little houses on the label.  Yep, I'm very scientific about how I pick my ingredients.

You'll need:
1 (9 inch) baked pastry shell, cooled
4 eggs (to be separated)
1 (14 ounce) can of Eagle Brand Sweetened Condensed Milk
1/2 cup Lime juice
Green food coloring (optional)
1/2 teaspoon cream of tartar
1/3 cup sugar


One word of caution:  When I made this pie last week for Christmas, I used Borden's Eagle Brand Sweetened Condensed Milk and it came out perfect.  When I made the pie again for this post, I used the "store" brand sweetened condensed milk since it was on sale.  The pie came out a bit runny this time.  I'm sticking with Eagle Brand from here out...learned my lesson.


For my crust, I used one of these ready-made pie crusts.  The crust came out great.  I crimped the edge of the pie crust to create a pretty fluting around the edge when I made the pie last week.  The edge ended up hidden under the meringue, so this time around I didn't take time to create the pretty fluting.  Ummm, now that I think about it, I guess I should have left the crimped edge exposed.  Oh well, something to try next time.


Directions:
Preheat your oven to 350 degrees.  Separate all four egg whites and yolks.  Keep one egg white separated from the others.  It will be used in the filling.  The other three egg whites will be used to make the meringue.

How do you separate your egg whites?  I acquired this little egg separator at a Tupperware Party a gazillion years ago.  I can do the little "swapping it from egg shell to egg shell" trick, but this device makes it a bit easier.  Wonder if they sell something like this online?  I'm sure they do since Tupperware was making it so many years ago.  I bet William Sonoma has a high tech version.  Any of you awesome cooks know?

Tip:  Never separate egg whites over each other.  If a yolk breaks, you'll get yolk in with your other egg whites and will have to start all over.  Not fun...I speak from experience on that.


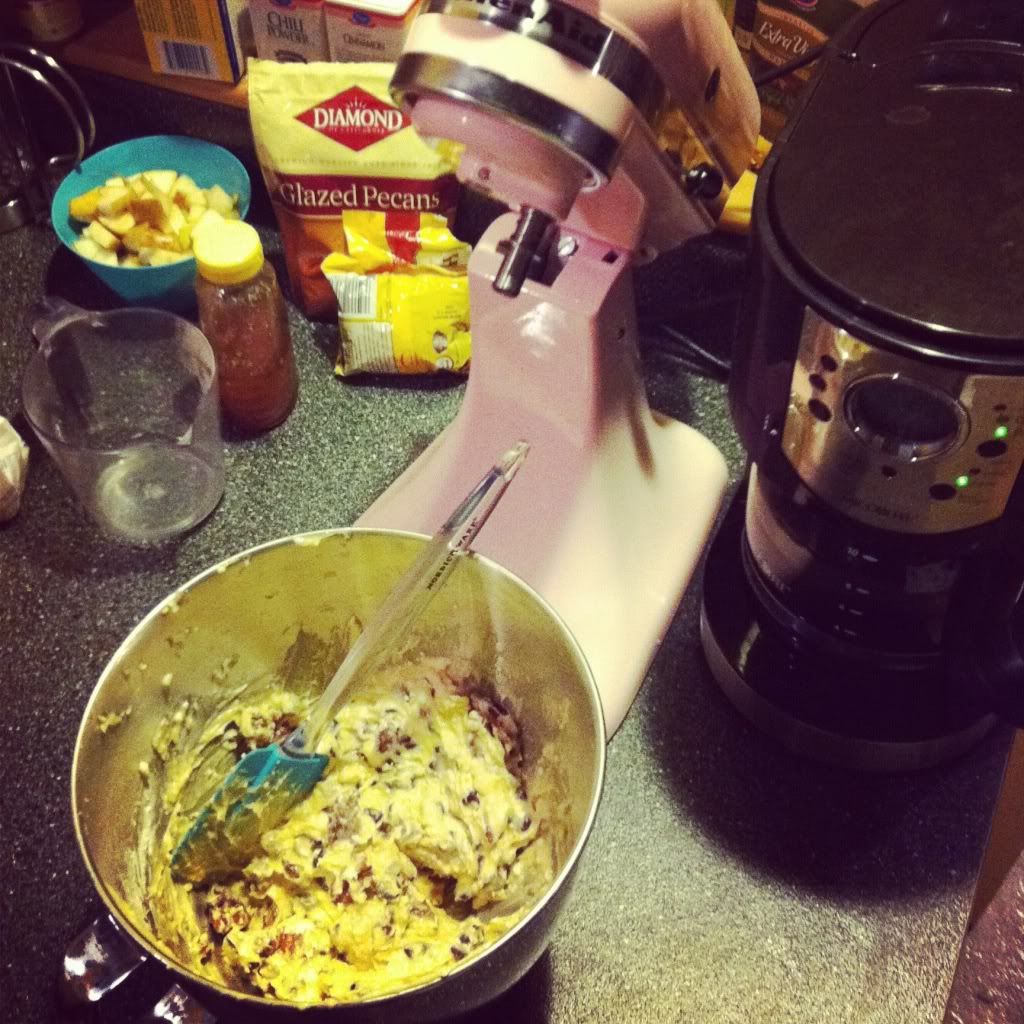
In a medium bowl, beat egg yolks.


Next, stir in your Eagle Brand sweetened condensed milk, lime juice and a touch of green food coloring.  The food coloring is optional but I think it adds a lot to the appearance of the pie.   I added just a smidgen to give it more of that "lime" coloring.


In a small bowl, stiffly beat the egg white you separated out from the other egg whites.  Then fold it into the sweetened condensed milk mixture.


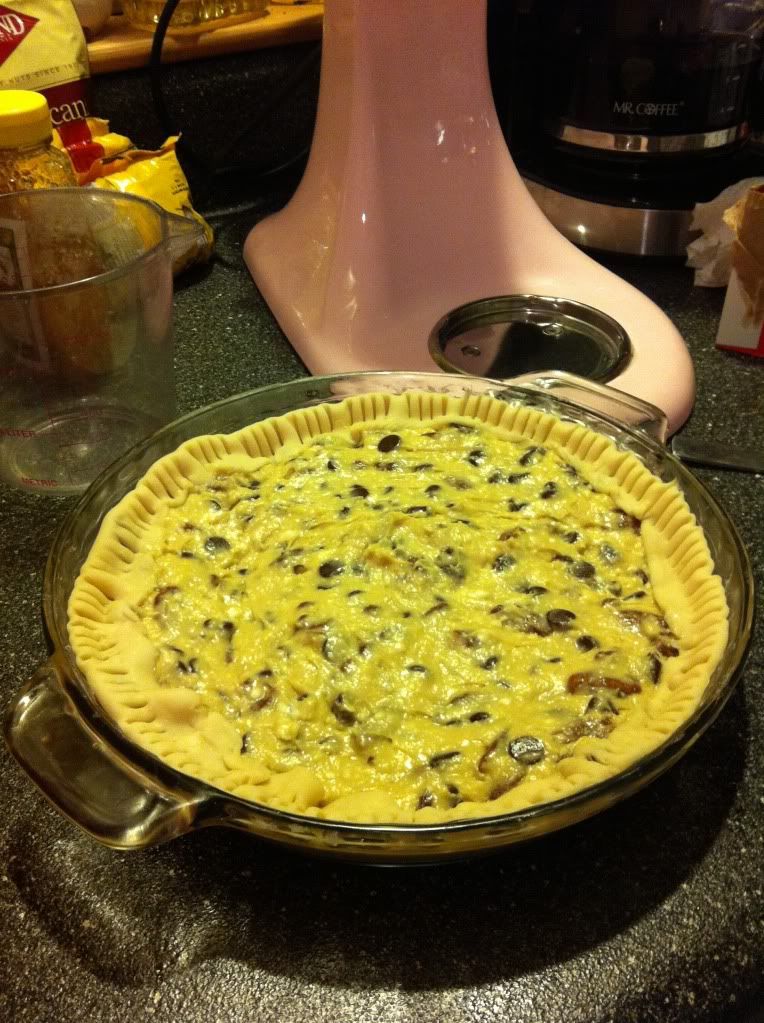
Pour the mixture into your previously baked pie shell.


Beat the remaining three egg whites with the cream of tartar until they are foamy.  Then, gradually add the sugar, beating the egg whites into a meringue until they are stiff, but not dry.  Spread your meringue over the top of your pie, sealing to the edges of the shell.  I'm thinking now, I probably should have left the edges of the pastry shell exposed.  Ummm, will do that next time.

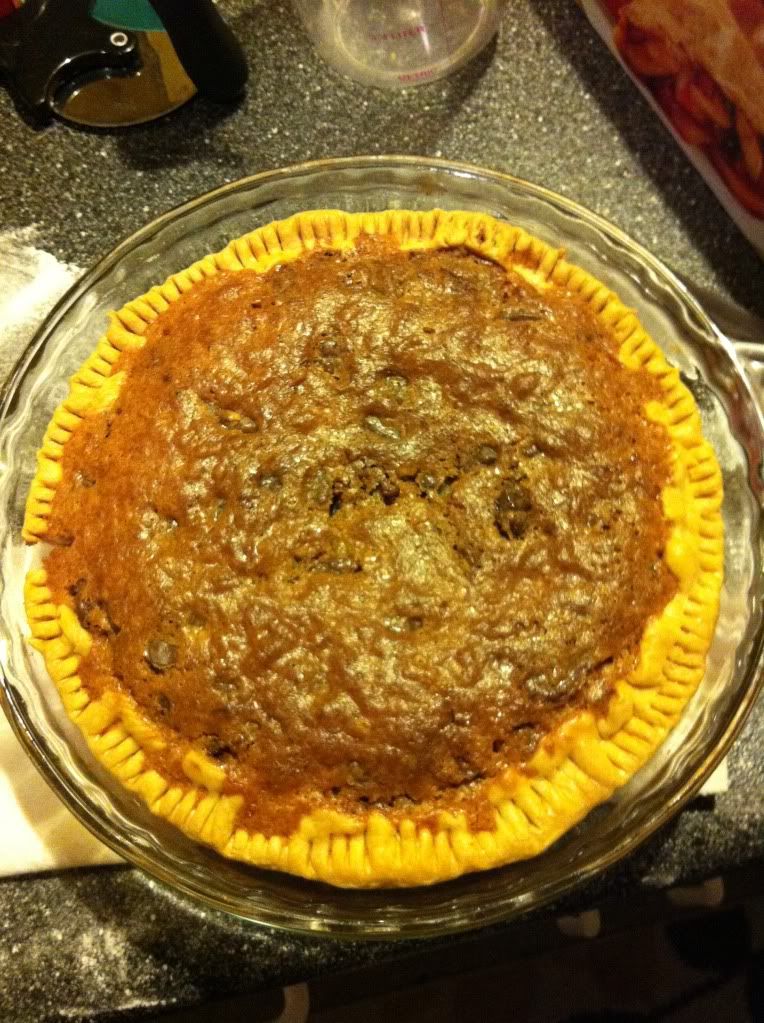
Bake your pie at 350 degrees for 15 minutes.  The meringue will begin to brown so you'll know it's getting close to being done.  Once it's done, just chill it in the frig.


When the pie was done, I took it out to the porch where the lighting is better so I could grab a quick pic. Can you tell it was a breezy day out on the porch? :)


This pie is so easy to make.  It would be a great dessert to serve for a spring or summertime party.  It looks huge in the picture doesn't it.  Must be the angle...it's normal size in real life. lol


The pie was a bit tricky to slice since the meringue was stuck down to my pie pan.  A food photographer, I'm not. HA!  I did discover after squishing a few slices, if you wish to cut pretty slices, smear a tiny bit of butter on your knife before cutting.  As I photographed the pie, I was thinking how great this would be poured into tiny, individual pasty shells for little mini Key Lime pies.  Ummm, may try that next time.

Love trying new recipes?  You'll find additional recipes HERE.  Just click and scroll past the picture links to table settings, party tips, napkin folds, etc... to the bottom of the page where you'll find more of my fave recipes for party food, desserts, appetizers, etc...  Or, click on the category header, Tablescapes and scroll to the bottom of that page.


Looking forward to all the Before and Afters!

RSS Reader or have BNOTP delivered right to your Inbox.  You'll find links to subscribe via RSS and Email on the sidebar to the right.  Thanks for reading; so glad you are here!

Reading this post via e-mail or RSS feed?
*If you are reading this via email or RSSHERE.


Metamorphosis Monday:
If you are participating in Metamorphosis Monday you will need to link up the "permalink" to your MM post and not your general blog address. To get your permalink, click on your post name, then just copy and paste the address that shows up in the address bar at the top of your blog, into the "url" box for InLinkz.

In order to link up, you'll need to include a link in your MM post back to the party.

If you'd like to include the MM button in your post, just copy and paste the Met Monday button to your computer or grab the html code from underneath the MM logo under the "BNOTP Parties" header at the top of this blog.

PLEASE DO NOT type in all caps...it spreads the links waaaay out. Thanks!

Let's try something fun today! Please visit the person who linked before you and after you...that way everyone will get some visits. Hope you'll visit more, of course.


Welcome! Thanks for coming to the party!

Thursday, 29 December 2011

New Year's Eve Champagne Punch, Delicious and Easy to Make

While we continue enjoying all the beautiful tablescapes linked for this week's Tablescape Thursday, I thought I'd share a wonderful recipe for a Champagne Punch I make every Christmas and New Year's.  It's easy to make and always a big hit.  (If you don't care for champagne, substitute chilled club soda, instead.)


If you are making this for a small gathering of 2-4 people, one batch will do. If you're having a larger gathering, you'll want to make several batches because it's always a big hit and goes quickly. I went through 4 batches (with none left over) when I had a party with 25 in attendance. (So, that works out to be around 1 batch for every 6 folks in attendance.)


Champagne Holiday Punch

Ingredients:
1 cup water
1/2 cup sugar
3 cinnamon sticks
4 whole cloves
2 cups cranberry juice
1/2 cup pineapple juice
1 bottle champagne (Korbel Brut works great)
Small amount of Grand Marnier (or any orange liqueur you prefer)
Red sugar
Green sugar

In a saucepan, bring water, sugar, cinnamon sticks and cloves to boil.
Reduce heat and simmer for 5 minutes.
Discard cinnamon and cloves.
Cool to room temperature and pour into a large pitcher.
Add cranberry juice and pineapple juice.
Chill in fridge until ready to serve.
At serving time, add 1 bottle of chilled champagne.

Right click on pic below to save it to your computer, then just print it off...much easier than having to write it all out.


Dip the Rims in Nonpariels for a Festive Occasion:

For a New Year's Eve party or a birthday party, I like to dip the rims of the glasses in nonpareils, instead of the the colored sugars I use at Christmastime, seen HERE.


When you are ready to serve this punch, just pour a little Grand Marnier or any orange liqueur into a shallow dish. Pour some nonpareils into a bowl.


Dip the rim of the champagne glass into the Grand Marnier, then into the bowl of nonpareils. Then pour the punch into the glass.


You can serve the punch from a punch bowl and ladle it into the glass, but since the opening of a champagne glass is so small, it can be pretty messy with the punch ending up running down the sides of the glass. I found it much easier to just pour it from a pitcher.


Or, if you have a beverage server similar to the one below, that will work well, too.


You may wish to print off some copies of this recipe because your guests are going to be asking for it.  Or, just tell them it's an old family recipe and you've been sworn to secrecy. ;)


To see the Christmas version with sugared rims, click HERE.  It's really pretty with green and red sugared rims for Christmas.

Sunday, 25 December 2011

The Upstairs Family Room For Christmas: Welcome to the 153rd Metamorphosis Monday!

Merry Christmas!   I have just a quick "Before and After" to share for this Met Monday.   I added a few holiday touches to the Upstairs Family Room this year and never got around to sharing those.  As always, I hung a little wreath on the grandfather clock.

1 053


This year the armoire got a bit of lit greenery and I moved the feather tree from its usual spot in the guest room, HERE, to the upstairs family room.


1 018


A view at night...

1 209


Snapped a quick pic today right after I finished icing the coconut cake.  The wax paper was still under the layers.

1 250


With the wax paper removed...

1 257


You'll find the recipe for this cake and the icing, HERE.  I changed the recipe up a bit this time.  I wanted the cake to be even taller than normal.  The recipe calls for all-pupose flour, but I used half self-rising and half all-purpose flour.  And, I still added the normal amount of baking powder.  It was definitely taller than ever, almost too tall for the lid to fit on.  Be careful what you wish for. lol

1 296


Once the cake was done, it was time for the best part.  I surely couldn't let all this icing just go to waste. Right?

Hope your day was filled with lots of yummy moments!  And I hope YOU got to lick the beaters. :)

1 297


Looking forward to all the Before and Afters!

To receive the latest posts, as well as updates about blog parties, subscribe via an RSS Reader or have BNOTP delivered right to your Inbox.  You'll find links to subscribe via RSS and Email on the sidebar to the right.  Thanks for reading; so glad you are here!

Reading this post via e-mail or RSS feed?
*If you are reading this via email or RSS feed, to view all the Before and Afters linked for Metamorphosis Monday, click HERE.


Metamorphosis Monday:
If you are participating in Metamorphosis Monday you will need to link up the "permalink" to your MM post and not your general blog address. To get your permalink, click on your post name, then just copy and paste the address that shows up in the address bar at the top of your blog, into the "url" box for InLinkz.

In order to link up, you'll need to include a link in your MM post back to the party.

If you'd like to include the MM button in your post, just copy and paste the Met Monday button to your computer or grab the html code from underneath the MM logo under the "BNOTP Parties" header at the top of this blog.

PLEASE DO NOT type in all caps...it spreads the links waaaay out. Thanks!

Let's try something fun today! Please visit the person who linked before you and after you...that way everyone will get some visits. Hope you'll visit more, of course.


Welcome! Thanks for coming to the party!

Friday, 23 December 2011

Ice Chiller for Wine or Champagne: A Tutorial

I shared how to make this wine chiller last year, but I thought it would be fun to share that post again in case you're looking for something fun for your Christmas table or for your New Year's eve celebration.  It's easy to make...you'll just need a couple of containers, water and cranberries.  Sliced lemons and limes would work, too.

Tutorial:  Make a wine chiller:

Last year I received a catalog in the mail and it showed this pic/ad. I was tempted to order it until I realized the silver bowl was plastic. I remembered I already had a silver bowl, so I decided to try and make the ice chiller with things I already had and save myself $29.00.


The Before:
The only items I had to purchase were a bottle of wine, cranberries and distilled water. You don't have to use distilled water so you could save the expense of buying that, if you like. But I discovered when I made flower ice cubes HERE, distilled water will usually freeze pretty clear, and it's only $1 for a gallon...more than enough for my ice chiller. If you would like your ice chiller more frosty looking like the one in the catalog, just use tap water.


I searched around the house and decided on this tin for my mold. (It measures 6 1/2 wide by 7 1/2 tall.) This worked fine except for two snags. 1. It leaked very slowly, so I had to add a little more water to it after about 45 minutes. It was such a slow leak in the freezer, the water froze as it leaked out, so I just broke it off and tossed it in the sink. I think that could be prevented by running a bead of hot glue around on the inside bottom where it meets the sides, prior to using it.

2. The other little snag is the indention near the top made my ice mold a little tricky to get out. A container that's completely smooth at the top would work better. Just DON'T use glass. If you used glass, it would be very difficult to get your ice chiller out because you'll need to run warm water over it and glass would most likely break.)


I found a plastic container to use in the center...it's an old Tupperware container/pitcher. (Again, please do not use glass for this part either...same reason...it would break with the temperature change.) I placed the wine inside to make sure it was the right size for a bottle of wine. It was perfect. (It measures around 3 1/2 inches wide by 8 1/2 inches tall.)


I needed something heavy to go in the center container so it wouldn't float. Clay cat litter almost worked, but wasn't quite heavy enough. Next I tried pennies from a huge penny jar collection and that worked great. Sand, marbles or even pebbles/rocks would work fine, too.


I stuck the container (filled with pennies) into the cannister and poured distilled water all around, saving just enough room for 1 full bag of cranberries at the top. You can pour some of the water off or add more--whatever you need to do to get your cranberries right up to the top.


After it had frozen overnight, I took the lid off and poured out all the pennies. Next I refilled the center container with warm water, being careful to not get water on the ice inside. In this pic I had just dumped the pennies out into the big container you see on the left. I ran just a little warm water into the center container, it came right out.

I didn't take any pics of me fighting the ice chiller out of the tin container.  It was loose toward the bottom but that blooming ridge at the top of my container got wedged with a cranberry. I kept running warm water on the outside of the container near the top and it finally let go.


After:
This is the only pic I have with the lamp off, and it shows the shape of the ice chiller best. It's the shape of the small tin I had used. Note how much clearer distilled water freezes than tap water.


The rest of the pics are a bit harder to see due to the light reflecting inside the bowl, but I think you'll get the idea.


Wouldn't this be a fun way to serve your white wine for a dinner party, holiday party, or New Year's Eve? I bet there are lots of other things that could be added besides cranberries. Lemons, limes or orange slices?  I'll be keeping my eye out for a better container than the tin one, for the future--but I am happy about saving $29.


Merry Christmas!

Wednesday, 30 November 2011

Wedding Wednesday: Chocolate Chip Cookie Dough Pie

Mike and I are getting really excited about putting our plans into motion for our October 2012 wedding. We made the decision several months ago to do a multitude of pies rather than cakes or cupcakes for the reception. We've been having fun playing with pie recipes ever since. While the Blueberry + Peach is still by far my favorite (yum!), we've also made apple pie and Blackberry+Pear! This one is our most recent attempt though! I baked one for my family on Thanksgiving (and we kept one at our home, too!). Mmmm! It's rich and gooey and positively divine when still warm! Of course all pie tastes better with ice cream in my opinion but this one hits a homerun!

I originally stumbled upon this recipe from Our Best Bites (which originated from Nestle) and they have the best pictures, too! I didn't manage to snap any while I was baking away (aside from the 3 which are obviously from my phone!) but I've included a few from OBB and you can always pop on over to see step-by-step photos if needed! I got to use my new baby KitchenAid mixer for this recipe and boy oh boy, it's a dream machine! 

Let me preface this recipe with this: It is so simple! I made a second one without even looking at the recipe and I clocked myself and five and a half minutes! Of course you need to bake it for an hour, but really, it's such a simple recipe! (I changed a tiny thing here or there, but not too much!)

Chocolate Chip Cookie Dough Pie

Ingredients:
1 unbaked 9-inch pie crust, homemade or store-bought.
2 large eggs
1/2 C flour
1/2 C white granulated sugar
1/2 C packed brown sugar
3/4 C real butter, softened (1 1/2 sticks)
1 C chocolate chips (semi-sweet or dark works best, you might find milk too sweet)
1 C candied pecans (you are welcome to make it without nuts)
Directions:
Vanilla ice cream, or sweetened whipped cream for serving (a must!  I prefer ice cream)
optional: chocolate sauce (honestly, doesn’t really need chocolate sauce, but it looks pretty!)
Preheat oven to 325° F.
Beat eggs in large mixer bowl on high speed until foamy. Beat in flour, granulated sugar and brown sugar. Beat in butter. Stir in morsels and nuts. Spoon into pie shell.
Bake for 55 to 60 minutes or until knife inserted halfway between edge and center comes out clean. Cool on wire rack or serve slightly warmed.  Serve with ice cream or whipped cream.


Okay, so mine doesn't look all that delicious out of the oven, but I assure you it is! OBB makes a good point that it takes a lot less rich when it's cooled, but you can't really beat the oogey gooey goodness of a fresh-from-the-oven pie! iPhone photos and poor kitchen lighting do not do it justice. It's a super simple recipe with things you might already have in your house so you simply must give this a shot! Even if you don't like overly sweet things, this might tickle your fancy! (Mike even liked it!)


* Additional photos courtesy of Our Best Bites