The deck shown below is what used to be, where the porch is now. It was an original deck that had been added onto by a previous homeowner. Unfortunately, the addition wasn't done properly and many more supports were used underneath than necessary. So when you looked out of the basement/terrace level windows, your view was blocked by support posts everywhere.
Plus, the deck had been neglected so badly, it was really beyond recovery. One day, out of desperation to improve the appearance, I scrubbed the deck down with an industrial strength deck cleaner and "painted" the surface and rails with a solid stain meant for decks. It looked better but the solid stain on the deck boards did not wear well, as you can see in the pic below. It was obvious the old deck just really needed to be replaced.

Time for a change...actually PAST time for a change! The old deck was torn off and replaced with an 18' X 14' screened-in porch and two small decks.
Now, for the next few minutes, no matter where you are, or how cold it might be outside, it will be summer again. Right now, for just a while, winter is all gone. Sit back, relax, and feel the breezes, out on the porch.
As you pass through the door from the family room...

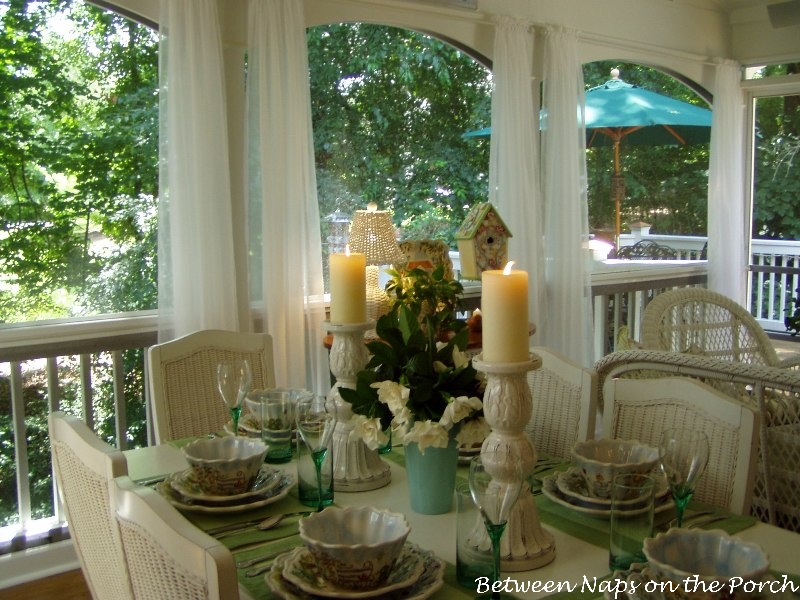
...this is your first view of the porch.

Shortly after the completion of the porch last spring, the porch just didn't "feel" quite the way I had envisioned. Do you ever do that...stand in a room and know something is missing but you aren't quite sure what it is? It felt as if the "edges" of the porch were too hard. I wanted the porch to feel softer, like the wonderful breezes I could feel swirling through on those blue sky days. Then it hit me...wonder how sheers would look.
I went shopping with the intentions of not spending too much...just in case my experiment didn't work or they didn't hold up. I found sheers for $5 per panel at Walmart...it took 10 sheers to surround the porch in softness. The rods cost around $50 for the whole porch. So for $100 I completely transformed the look and feel of the porch that day. Today, almost a full year later, those same sheers still hang on the porch; and I'm amazed to report, they have held up beautifully.

I had the porch wired for music when it was under construction. When you are in the kitchen or family room and you step through the doors out onto the porch, the music continues seamlessly with what you are hearing inside. (One of the "outdoor" speakers is visible in the picture above.)
In the picture below, you'll see a hutch I bought for less than $100 and refurbished, just for the porch. You can view the transformation of the hutch, HERE.

Seating group with porch swing...

This wicker oval table is the only vintage piece on the porch.

The view from the breakfast room...
The ceiling reaches to 12 feet at it highest point. The fans are exterior grade...made by Hunter. It is important when purchasing fans for an exterior room or porch, to buy fans designed for that purpose. Otherwise, the humidity will eventually cause the blades to droop and frequently the fans will cease to work. It's worth it to go with an exterior grade fan. I lucked out and found these in a "wicker" look...just right for the porch.


One of Max's favorite places to nap. I took this pic just as a nice breeze fanned out the sheer.

There are screened doors on either end of the porch, each leading onto a deck. This is a view standing at one of those doors looking across the room. I covered the porch swing chains with covers designed to cover electrical cords from Hobby Lobby..so much better than seeing the raw chain.

It was just starting to get a little darker when this pic was taken. I had the porch wired with lots of electrical outlets to allow for plenty of lamp light in the evenings. I'm not a big fan of overhead lighting and didn't purchase any for the ceiling fans for that reason. The deck you see off the other end of the porch is open overhead and has a space for the grill on one section and a table with an umbrella on the other.
The deck off the other end of the porch, has a pergola overhead. I found the candlelier at Smith & Hawken.

The view from inside through the breakfast bay window...

I tried to create different spaces for different moods. Sometimes it's nice to enjoy the stars and trees from under the pergola. Sometime it's nice to sit under an umbrella, especially on a hot summer day. And when the mosquitoes decide I'm on the menu, that's when it's time to head for the porch.

A cozy corner for reading or blogging...

A little more lamp light...

Dragonflies have landed on the ficus tree behind the swing.

A little candlelight...

Found this table at Pier 1....it turned out to be just the right size for this space.

Gardenias from my gardenia bush--oh, how I miss those. Hurry up summer!

This is some of the garden themed china I purchased from HomeGoods to use out on the porch. The rest is stored in the hutch itself.
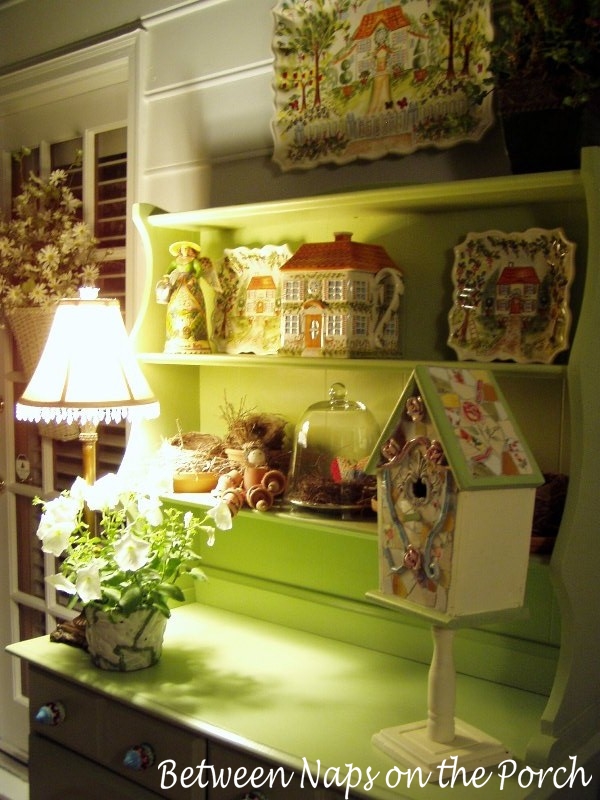
Found this hutch in an antique/thrift store and painted it 3 shades of green before I finally got it the shade I wanted. You'll find the tutorial for how I painted it and the formula for this color paint, HERE.

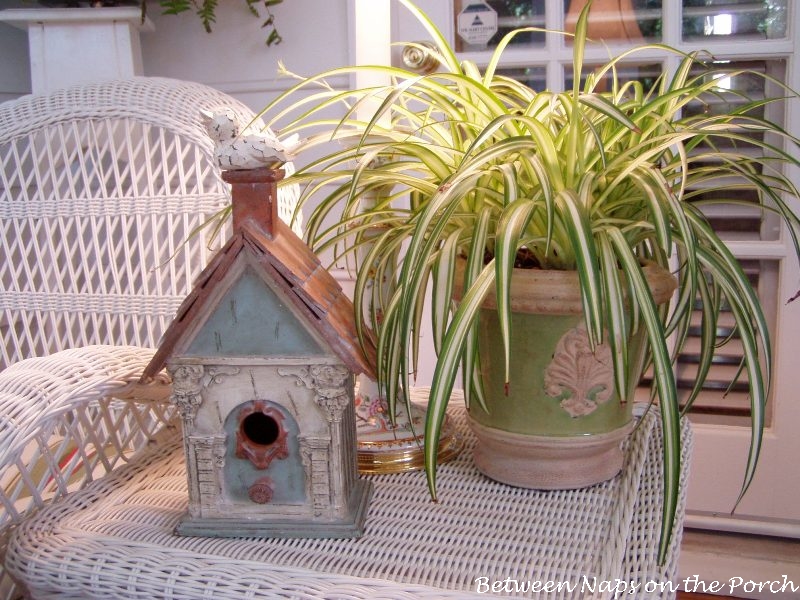
An old shabby chair makes a great plant stand for summer.

The flooring you see is a pine, tongue and groove, exterior grade, pressured treated flooring. It's designed for areas such as this...porches. It's called KDAT (Kiln Dried After Treatment). That means that after the wood was pressured treated (like decking is done) it was kiln dried to extract most of the moisture back out.
Most screened-in porches have regular decking with gaps in between, just like you see out on a deck. During my "research" phase, I read mosquitoes often find their way up between those cracks. Doesn't that sort of defeat the purpose of a screened-in porch? :-} I didn't want to use screening under the floor boards as I've seen done, because it tends to trap debris...and eventually I may have a patio area under the porch.
After some research my contractor found this flooring. So far it has held up beautifully. It even sat for 3 days, covered in snow, in an unfinished, unstained state, right after it was installed. I was worried, but once the snow melted, it was just fine. To make sure it didn't warp, the installers both glued and nailed it down to the thick, heavy-duty sub-flooring underneath.
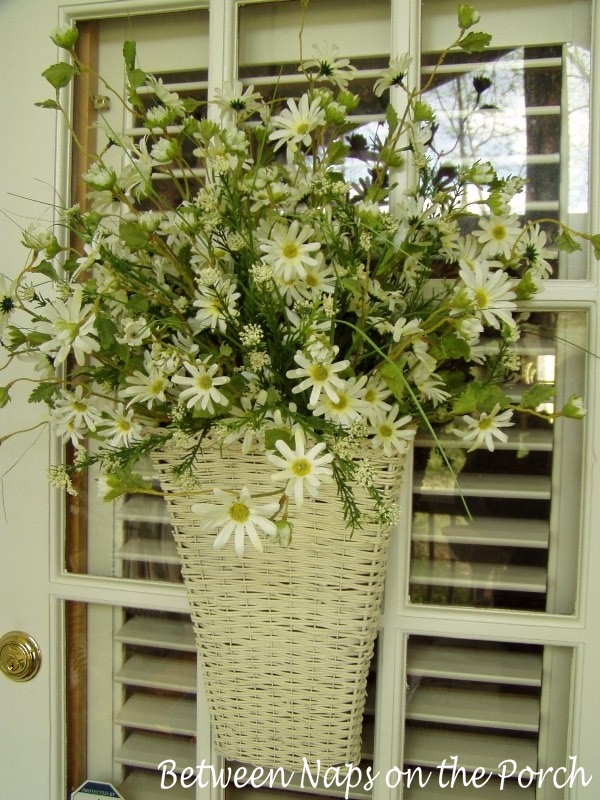
A little flower basket for the door to the family room...
A few fun details...
The sheers add another so much to the experience of being out on the porch. Not only can you feel the breezes, but the sheers let you see them.

Sit down and stay awhile...let's have a cookie and some sweet iced tea.

Thinking about adding a screened-in porch to your home? HERE are 9 Great Features you'll want to include in your future porch: 9 Features for a Screened-In Porch.

No comments:
Post a Comment